Short answer: A prototype costs more per unit because one-time costs — tooling, stencils, SMT programming, DFM and test setup — are spread over a few boards, not thousands. At BELI Technologies there is no MOQ for prototypes, and assembled boards carry a minimum 12-month workmanship warranty. Parts follow the same curve: single-piece prices instead of reel prices. The board is the same at 5 or 5,000 units; the arithmetic is not.
One of the most common questions hardware teams face is: why does a single prototype PCB cost so much more per unit than a board produced at volume? The answer lies in how PCB manufacturing costs are structured — and understanding these dynamics can help you budget more effectively at every stage of product development.
Whether you are a startup building your first proof of concept or an established company launching a new product line, understanding the cost breakdown between prototyping and mass production is essential for making smart financial decisions.
Why Prototypes Cost More Per Unit
PCB manufacturing involves significant fixed costs that are amortized over the total number of boards produced. When you order 5 prototype boards instead of 5,000 production boards, those fixed costs are spread across far fewer units — dramatically increasing the per-unit price.
The major fixed costs include:
- Tooling and setup — every new PCB design requires creating photo tools, stencils, and configuring the production line. Whether you make 1 board or 10,000, this setup cost is roughly the same.
- Engineering review — DFM checks, Gerber file verification, and impedance calculations happen once per design, regardless of quantity.
- SMT programming — the pick-and-place machine must be programmed with component coordinates, rotation, and feeder assignments for each unique design.
- Test fixture development — functional test jigs and ICT fixtures are designed per product, not per unit.
For a prototype run of 10 units, the per-board price is commonly 10–20x what the same board costs at 10,000 units. The board itself has not changed — but the economics of spreading fixed costs have.
Component Costs: Volume Pricing Makes a Big Difference
Electronic components are priced on steep volume curves. A microcontroller bought in single quantities commonly costs 2–3x its 1,000-piece price and 4–5x its 10,000-piece price. This pattern applies across virtually every component category — resistors, capacitors, connectors, ICs, and sensors.
During prototyping, you typically buy components in small quantities from distributors like Digi-Key or Mouser at the highest price tier. At production volumes, your EMS partner can leverage bulk purchasing, long-term supply agreements, and alternative sourcing strategies to secure significantly lower pricing.
At BELI Technologies, component cost optimization is a core part of our component sourcing service. During the transition from prototype to production, we conduct a detailed BOM review to identify cost reduction opportunities — including qualified alternative components, packaging optimizations, and consolidated purchasing across multiple client projects.
PCB Fabrication: Panelization and Yield
PCB fabrication costs also benefit significantly from scale. Here is why:
- Panelization — at production volumes, multiple individual boards are arranged on a single manufacturing panel. This maximizes material utilization and reduces per-board fabrication cost. Prototype orders often cannot be panelized efficiently, resulting in more material waste.
- Material optimization — production runs allow the fabricator to select optimal panel sizes and layer stackups, reducing raw material cost per board.
- Yield improvement — production processes are tuned and optimized over the run. First-article inspection catches issues early, and process adjustments improve yield as the run progresses.
A 4-layer board in quantities of 5-10 typically carries a per-unit price 5-20x what the same board costs in production quantities of 5,000+ — a per-unit reduction of 80-90% or more.
Assembly Costs: Setup Time vs Run Time
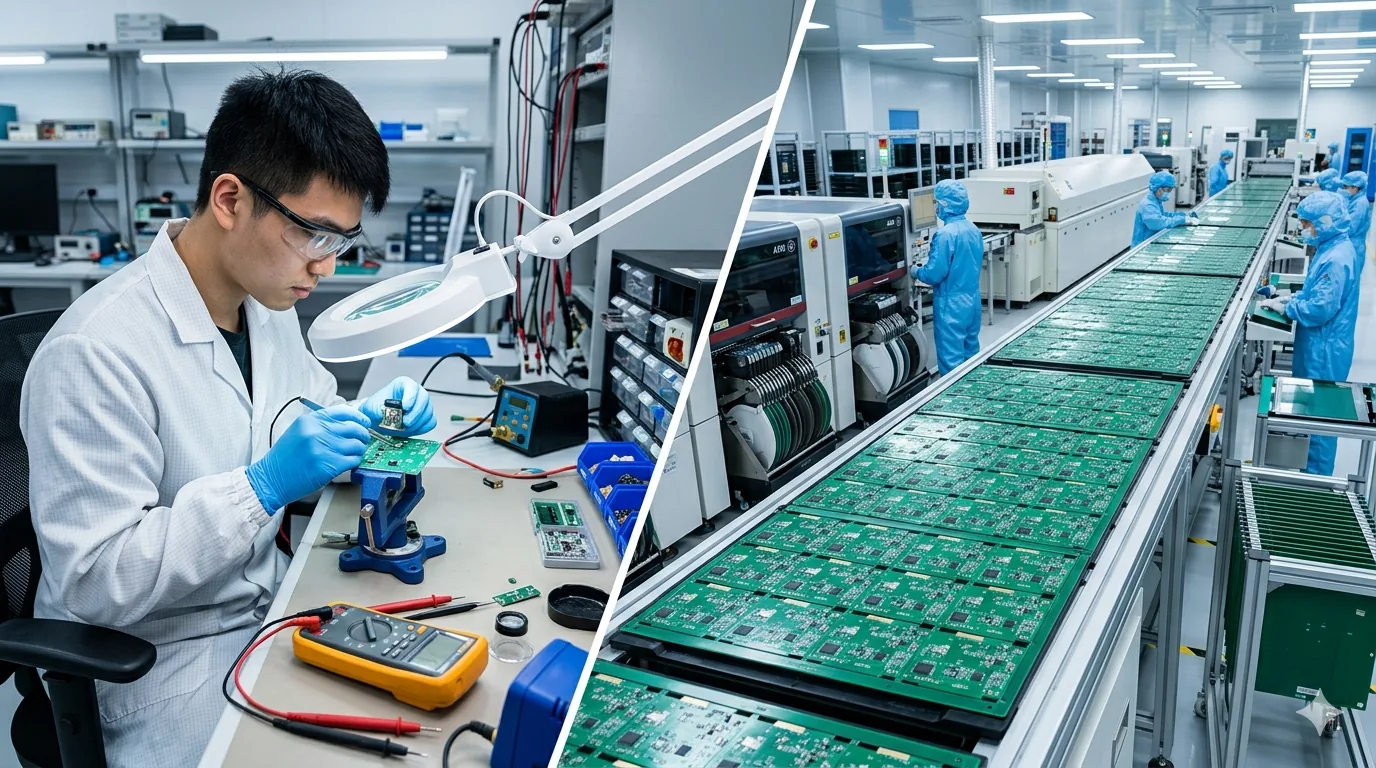
SMT assembly costs follow a similar pattern. The majority of the cost for a small prototype run is setup time — loading feeders, calibrating the placement machine, running the first board, and performing initial inspection. Once the line is running, the incremental cost per board drops significantly.
Consider this simplified comparison:
- Prototype (10 units) — 2 hours of setup time, 30 minutes of actual run time. Setup cost dominates.
- Production (5,000 units) — 2 hours of setup time, 20 hours of run time. Setup cost becomes negligible per unit.
Testing costs follow the same logic. A manual functional test on 10 prototype boards is expensive per unit because the test procedure is developed and executed individually. At production scale, automated test systems amortize development cost across thousands of units and execute each test in seconds.
How to Budget Effectively Across Both Phases
Understanding these cost dynamics helps you plan your budget realistically:
- Expect prototype costs to be 5-20x higher per unit than production pricing. This is normal and not a sign that you are being overcharged.
- Do not over-order prototypes. Order only what you need for validation and testing. The goal of prototyping is to verify your design, not to produce inventory.
- Plan for a pilot run. Before committing to full production, consider a pilot run of 50-200 units. This intermediate step validates your production process, catches remaining issues, and provides units for field testing — at a per-unit cost between prototype and production pricing.
- Optimize your BOM before production. Work with your EMS partner to review component selections for cost, availability, and alternative options. Small changes to passive component values, connector brands, or IC packages can yield significant savings at volume.
- Design for manufacturing from the start. Following DFM guidelines during the design phase reduces production costs by minimizing rework, improving yield, and enabling efficient panelization.
Does the Same Math Apply to Cable and Wire Harness Assembly?
Mostly yes — but the cost centers shift, because cable assembly is labor-dominant where SMT assembly is machine-dominant:
- NRE is lower, but not zero. A harness needs crimp tooling — an applicator and dies for each terminal family — instead of stencils and pick-and-place programs. For common connector families the tooling already exists and prototype setup cost is small; an unusual terminal can add tooling cost that dominates a small build.
- Materials carry the minimum-quantity problem. Wire is sold by the spool and terminals by the bag or reel, so a five-piece prototype buys the same spool a 500-piece run would — the same packaging-minimum effect that drives prototype component pricing above.
- Per-unit labor barely falls with volume. Cutting, stripping, crimping and pinning scale almost linearly with quantity, so the prototype-to-production price curve is far flatter than the 5–20x cliff typical of PCBA.
- Testing is a fixed cost per design. A continuity or hipot test fixture is built once per harness design; spread across a prototype batch it can be a visible share of the total.
The budgeting advice transfers directly: ask for one-time costs — tooling and fixtures — separated from per-unit costs in every cable quote, exactly as you would for PCBA NRE. Our wire harness assembly service covers prototype through volume builds, inspected to IPC/WHMA-A-620.
What to Send to Get Prototype and Production Priced Together
Ask for both quantities on one quotation, from one file package: Gerber or ODB++ for the bare board, a BOM with manufacturer part numbers, and a pick-and-place (centroid) file — what each file must contain is covered in its own guide. List the quantities you want priced (say 10, 200 and 2,000 — your own numbers, not a recommendation) so one-time costs and unit costs can be shown apart, and state the acceptance class your product needs. There is no MOQ for prototypes at BELI Technologies, so the prototype line can be exactly the number of boards you will actually test. When the package is ready, send it through the contact form; if anything is missing, the DFM review will say so before it costs you a build.
At BELI Technologies, we guide clients through every stage — from rapid prototyping with fast turnaround, through pilot production, to full-scale manufacturing. We provide transparent pricing at each stage so there are no surprises, and we actively help optimize costs as you scale.
Ready to understand the true cost of your next PCB project? Send us your Gerber files and BOM for a free, detailed quotation covering both prototype and production scenarios.
Get a Free Quote from BELI Technologies
Related reading: How Much Does PCBA Cost in China · Prototype PCBA in China: A Practical Guide